Aeroponics
As we already established this in previous blogs that in hydroponics plants are grown without soil, using nutrient rich solution provided directly to roots. Aeroponics is an advanced type of hydroponics system where plants are not fully submerged rather sprayed with mist of nutrient solution.
Aeroponics Overview:
Aeroponics comes from Latin words meaning ‘Air Labour’. To simply put its an alternate technique for soil-free cultivation in conditions that enhance development. Aeroponics is a specialized type that uses no soil and little to no nutrient solution. It seems as if plants are floating in the atmosphere. The plants lower stems are suspended in the tank using biodegradable foam.
Since the roots aren’t submerged in water solution the plants can breathe plenty of oxygen and the nutrients are provided using ultra fine sprays, pointed at roots. Roots are sprayed such as fine layer of nutrients cover them and the rest drips back to the bottom of tank that again gets reused for the next cycle. The spray works at a predetermined interval and a very minimal solution goes to waste in the aeroponic system resulting in insane growth rates and yields.
If you are a beginner hydroponic enthusiast we would recommend you to steer away from aeroponics as its tricky and sensitive. But if you have had some experience with such systems you will be able to achieve cheaper yields and a little amount of nutrient solution will go a long way.
Keep in mind though, these systems aren’t ideal if your plant is going to have long dense roots network, then we would steer you towards a system that can accommodate larger root masses. Using these technique the nutrient rich liquid is provided with extreme precision resulting in quick growth. you will need to take certain preliminary precautions as the system can collapse if the spray holes clog causing the roots to dry out as they solely depend on spray cycles.
For this system to work well, it is important to maintain proper temperature and to make sure that the necessary amount of nutrient-rich mist is available.
Key components:
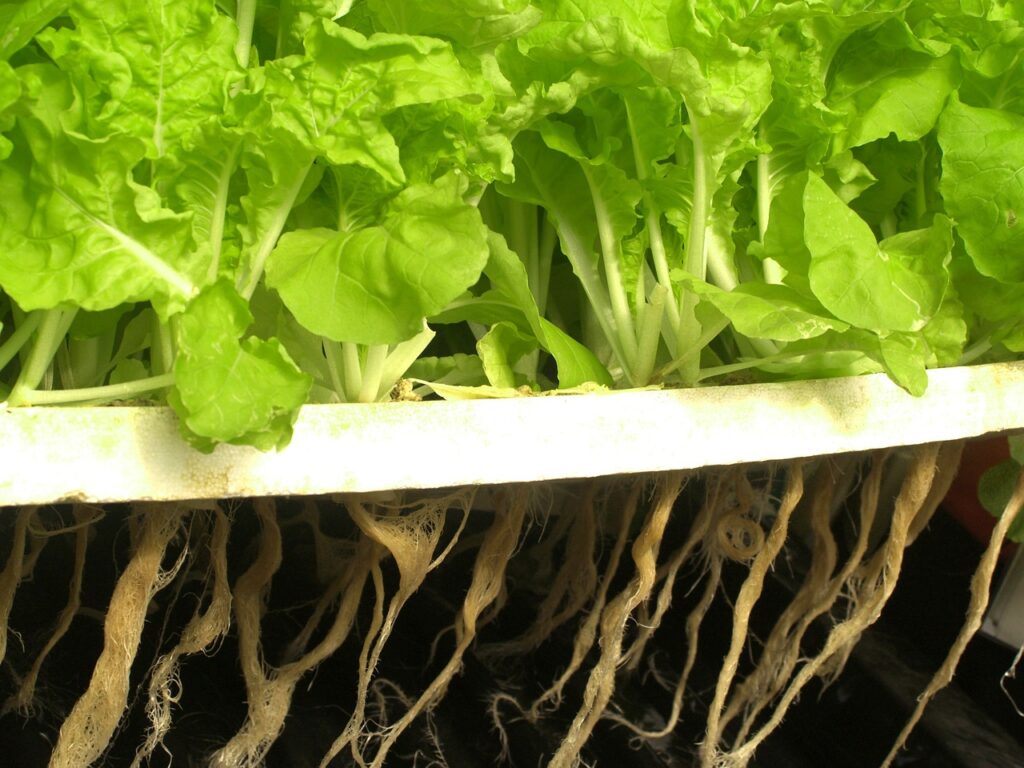
Root System
The plants are hanged in a container where roots are suspended in the air.
Reservoir
Nutrient solution is stored in a reservoir underneath the roots from where the sprayers takes water and the droplets fall back into, hence leading to no wastage.
Mist Spraying
Thin whole sprayers mist the roots with nutrient rich solutions at specific intervals.
Control Unit
Many systems have a fixed temperature and mist control setup.
Advantages of Aeroponics
Productive with rapid growth
Compared to soil-based farming, this method is more sustainable as it uses almost 90% less water. If you aim to go fully commercial in this field, you can grow more food, healthier types and also more profitably because you can use height and air as a growing place.
Air Exposure promotes sustainable yield
As aeroponics uses air to suspend plants with spray of tiny drops of water, it is ideally suited to promote rapid plant growth. . As a result, compared to soil-based farming, more plants can be grown in less time.
Oxygen rich environment without land
If you have a place in your tiny garden or on the roof, you may use it right now to grow your food. To experience the beauty of aeroponics you can even build small system in your living room or balcony.
Disadvantages of Aeroponics
Although aeroponics provides numerous advantages but it requires special monitoring and care. If you are going to setup an aeroponics system make sure to be properly trained and be willing to upgrade your abilities by trying new technologies. Artificial light plays a vital role in success of such systems. In indoor systems you will have precise control over the duration, intensity and spectrum of light.
Aeroponic Plants
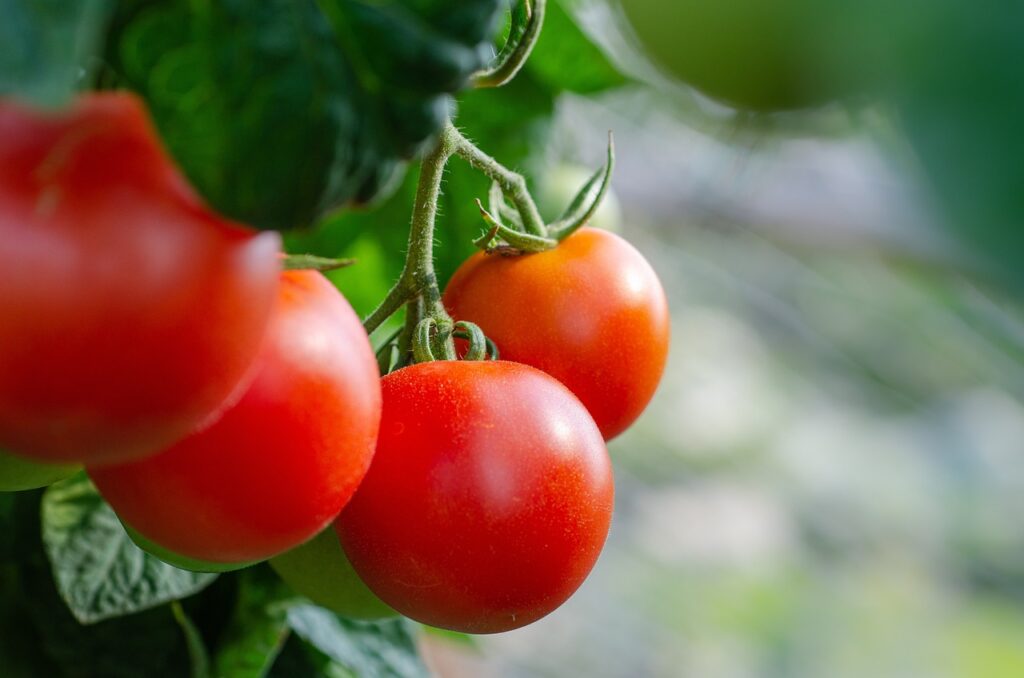
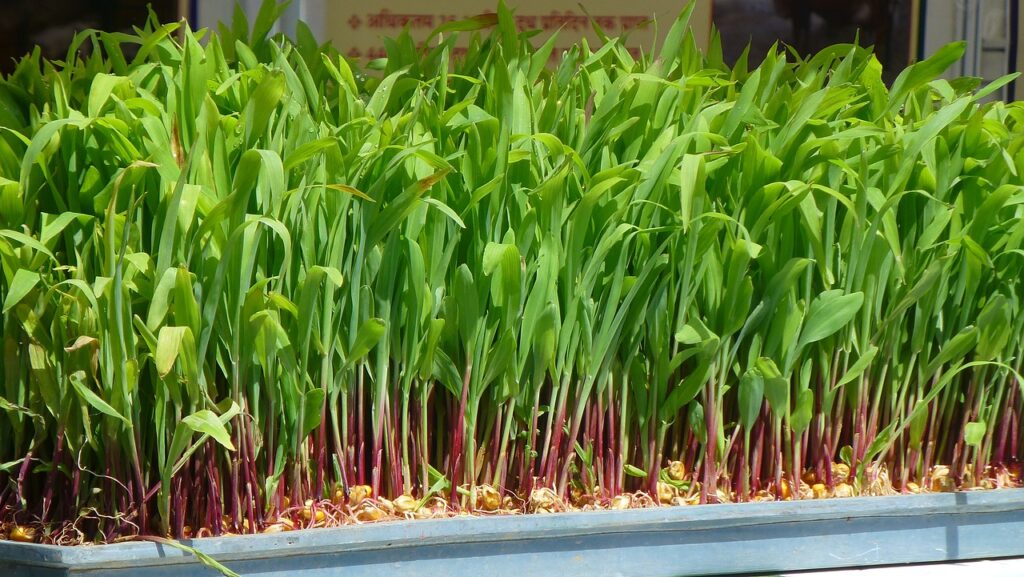
You cant grow everyplant in aeroponics, the most suited plants are green leafy items and herbs along with strawberries, tomatoes and cucmbers.
Although root and tuber crops are less common in this system, you can still cultivate them if you have access to the most modern infrastructure.
Aeroponic Vertical Farming
Vertical farming involves stacking layers of plants to maximize space utilization. Artificial lighting can be strategically positioned at different levels to ensure that each tier receives adequate light. This ensures uniform growth and development throughout the vertical structure.
To make your vertical farm successful you need to look into the following:
- Conditions your plant require, for example: water, light, temperature, humidity etc.
- Mist sprayers are not clogged and operating per interval